How 2 melt chocolate in a microwave
How 2 melt chocolate in a microwave couldn’t be easier with this foolproof method. The key to successfully melting your chocolate in a microwave is using short bursts.
These easy and simple instructions can be used for melting chocolate on its own or with butter or peanut butter.
How 2 melt chocolate in a microwave
Method for melting chocolate and peanut butter or butter
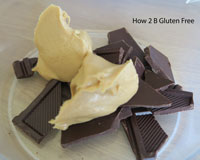
Place peanut butter and chocolate (broken into chunks) in a microwaveable dish.
Microwave on full power for 30 seconds, remove from microwave and stir well.
The peanut butter should be melting.
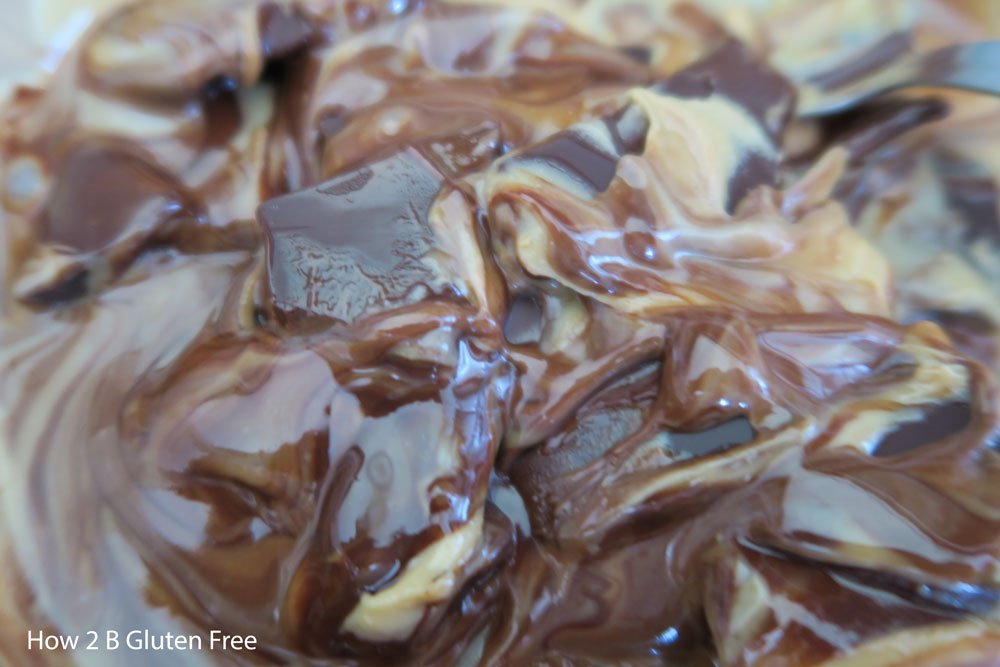
As you stir the chocolate will also start to melt and the two ingredients combine.
Keep microwaving in 15 second bursts and then stirring until the chocolate has fully melted.
The same method can be used for melting chocolate and butter. Cut the butter into chunks and add it to the microwavable dish along with the chocolate (broken into chunks). Begin microwaving following the instructions above.
Method for melting chocolate in a microwave
The same method can be used for melting chocolate in the microwave. Stirring it between bursts of microwaving will help spread the heat and melt the chocolate.
It also means you can easily see when the chocolate has melted and minimise the risk of burning.
Avoiding burning is key
The aim is to melt your chocolate without burning it. It is easy to burn chocolate if you microwave it for too long.
Microwaving in short bursts will allow you to keep control and avoid burning.
It can be difficult to tell by look or smell if your melted chocolate is burnt. Taste is the only way. So if you think you may have burnt your chocolate taste a little, you will know immediately.
Burnt chocolate! What now?
There isn’t much you can do with burnt chocolate other than start again.
Your chewy brownies or whatever you make with a burnt chocolate mixture won’t have the delicious taste you are aiming for. They will just taste burnt.
Unfortunately it is impossible to mask the burnt taste, I’ve tried with no success. Making a new batch is the only solution.
Melting dark, milk or white chocolate
The method is the same no matter what type of chocolate you are melting. However you will probably notice that the time it takes to melt will vary.
For some reason (it must be fat content) white chocolate seems to take longer.


Welcome!
I'm Janne. I create recipes and provide tips for enjoying fantastic food that just happens to be gluten free.
Whether you are living gluten free full-time, trying it out or cooking occasionally for family and friends.
This is gluten free for foodies.
Never miss a recipe!
Subscribe to my FREE Newsletter!


New! Comments
Have your say about what you just read! Leave us a comment in the box below.